How to Install Solar and Wired Landscape Lighting

Lighting up the landscaping around your home or business does more than just show it off. Proper lighting is also a safety factor, especially if you or a family member has mobility issues or trouble seeing at night. Pathway lighting is easier to install than you might expect, especially if you choose a quality set of solar lights. Yet even wired lighting is possible for most homeowners to install with a little care and extra effort. Make your decision after reading up on the installation processes for both types of landscape lighting.
Solar Lights
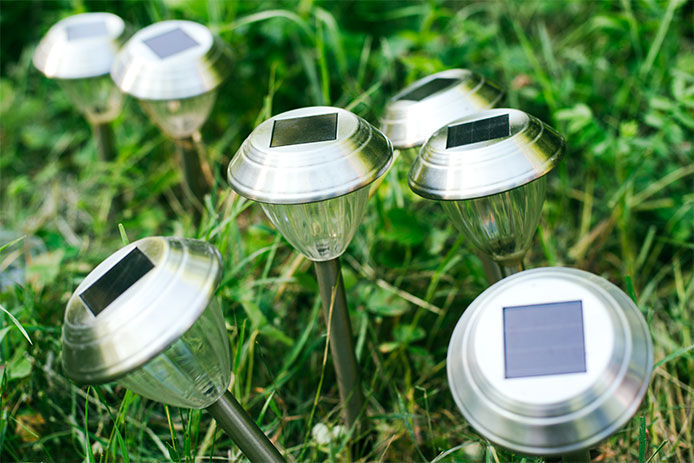
Installing solar landscape lighting is as simple as buying a set of matching lights and setting them up in place. However, a handful of steps are recommended to get the installation right.
1. Prioritize Pathways
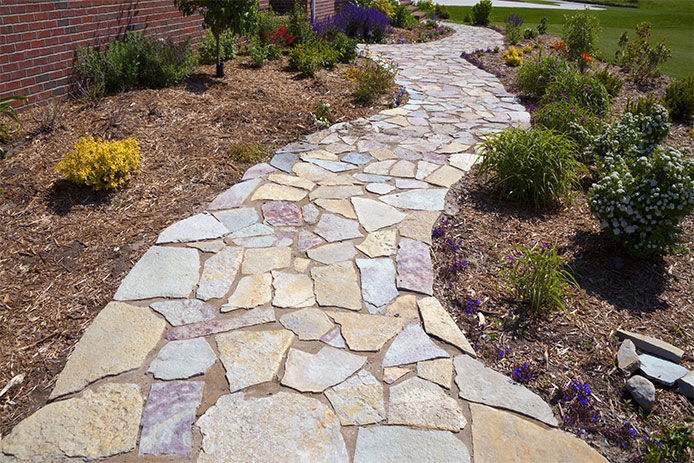
Layout your basic lighting plan first to figure out how many lights you need and where you want to concentrate them. Concentrate lighting around any paths you use regularly, especially at night. Lighting flower beds may add visual appeal, but it does little to increase accessibility.
2. Check Sun Exposure

Solar landscape lighting will only work in areas that get at least six hours of direct sunlight a day. Shady areas that get less than that will only be barely illuminated, so stick to low-voltage wired lighting for those parts of the landscape. It’s easy to overestimate the amount of sun an area gets. Check for common causes of shade like low-hanging branches or the shadow of nearby structures.
3. Charge the Lights
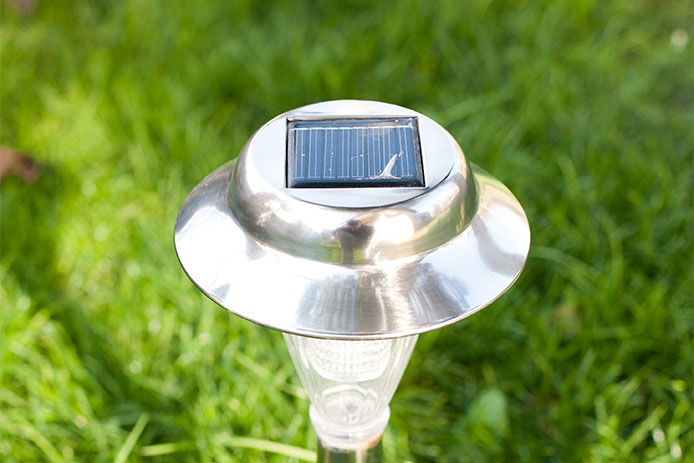
Before setting up new solar lights in their final locations, place them all out in full sun and orientate the panels to face the sun all day. Give them two to three days in the sun to fully charge, or at least 14 to 16 hours of total daylight. This will ensure they start off with a good charge and don’t run down the batteries within the first few months.
4. Prepare the Soil

Finally, check the soil in every spot where you want to install a solar landscape light. Very hard soil, concrete, or buried rocks may make it more difficult than you expect. Consider relocation rather than trying to deal with hardpan or buried stones. Tucking solar lights into planters or containers can help you work around concrete-covered pathways.
Wired Lights
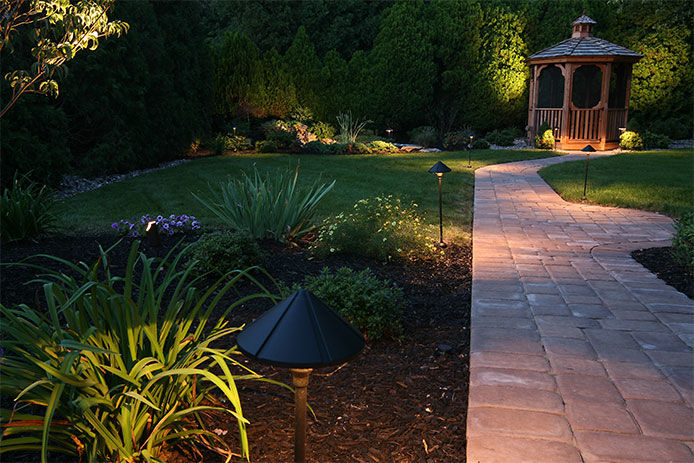
Wired landscape lighting requires significantly more work, but the lighting is brighter and more consistent. You’ll have to choose this kind of lighting if you want any spot lighting to highlight your home or certain landscape features. Low-voltage lighting is basically plug and play, so you won’t need specific electrical experience to install it.
1. Choose the Number of Lights
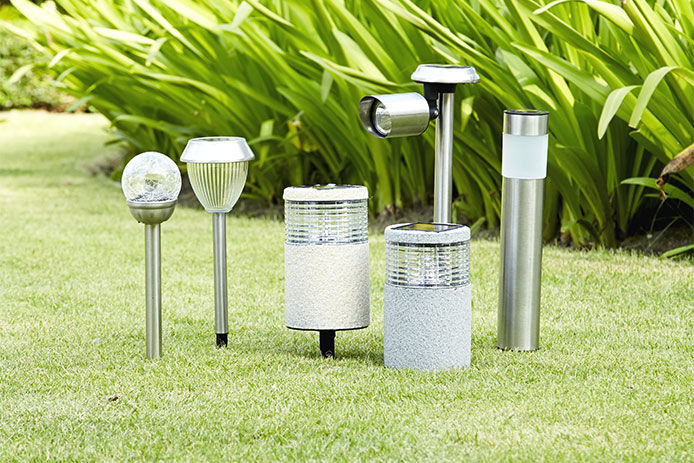
As with solar lights, consider the placement and total up the number of lights you want. Focus on brighter lights for spotlighting and less voltage for lights installed in a series down a path. Add up the total wattage for all the lights in the system to figure out the size of transformer you’ll need.
2. Pick Up the Right Cable
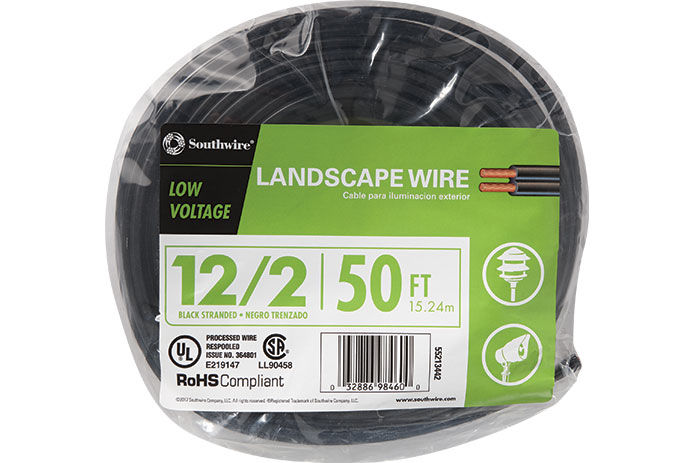
The most time-consuming part of wired lighting installation is running the actual wires all over the landscape. Rent a small trenching tool to make quick work of this task with minimal sod disturbance. The larger the gauge of cable, the farther a transformer can send power down it. For example, a 300-watt transformer can only power 100 feet of 16-gauge cable, but it can power 200 feet of a 12-gauge cable. Use a distance chart to check that you’re using the right gauge for the distance and power you need to combine.
3. Install the Lighting
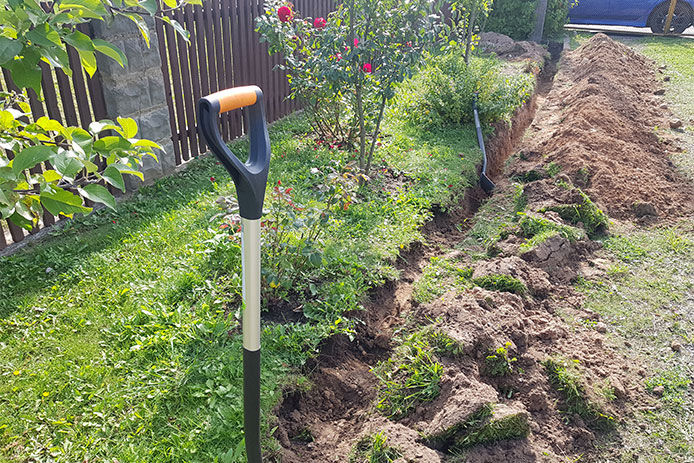
Set out all the various fixtures you want to mix and match, then lay out the cable as well to connect them. Use a trenching tool or square blade shovel to make a trench just 3 to 4 inches deep along the path of the cable. Cut around any obstacles like trees, roots, and stones, and give yourself some extra cable to compensate for these diversions. Use a rounded tool like the curved part of a crowbar to gently press the cable down in the trench without cutting it, then press the soil back down. Attach the cable to the fixtures as you go so it’s ready for connection.
4. Attach the Transformer
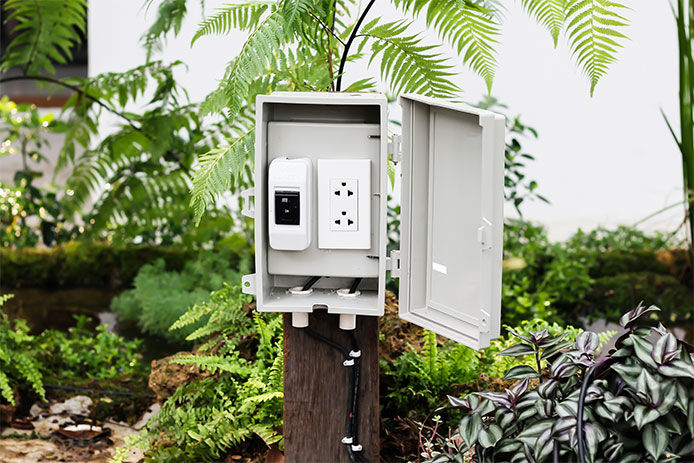
While the transformer simply plugs into an outdoor outlet, you’ll still need to attach the wiring cable to it. Strip the insulation off the last inch or so of the cable to expose two braided wires. Insert one wire into each of the two A and B screw terminals in the back of the transformer. Tighten the screws and mount the transformer near the outlet. Plug it in, then finish connecting the fixtures to the wire. Set up each light fixture on its mount or base and make sure they’re all working. If only a few aren’t lighting up, the cable supplying power to them is likely damaged.
Outdoor lighting can be a weekend project, or it can take a few weeks to plan and install. Either way, you’re sure to enjoy seeing every step you take along the paths in your yard at night.
While do-it-yourself projects can be fun and fulfilling, there is always a potential for personal injury or property damage. We strongly suggest that any project beyond your abilities be left to licensed professionals such as electricians, plumbers, and carpenters. Any action you take upon the information on this website is strictly at your own risk, and we assume no responsibility or liability for the contents of this article.